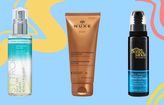
The Best Face Tanners For a Natural Glow
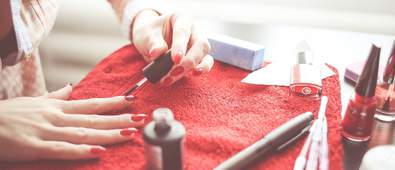
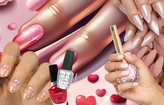
You’ve finally reached the stage where those dreaded nail beds are starting to show through, leaving your once fierce acrylics to look a little drab and dated. Time to get those suckers off!
If you’re opting to not go to the salon in order to save a few pretty pennies, then we have just the solution for you – one that won’t completely destroy your nails, either!
Bring the salon to your living room by stocking up on a few nail care essentials and following these great tips on how to remove acrylic nails at home and reveal healthy nails. Required: a little bit of patience and a whole lotta hand cream.
Using either nail clippers or nail scissors, trim down the ends of your acrylic nails to avoid creating extra work for yourself. By getting rid of the tips, you will secure an easier removal process that won’t damage your natural nails as much – trust us, it’s a vital step.
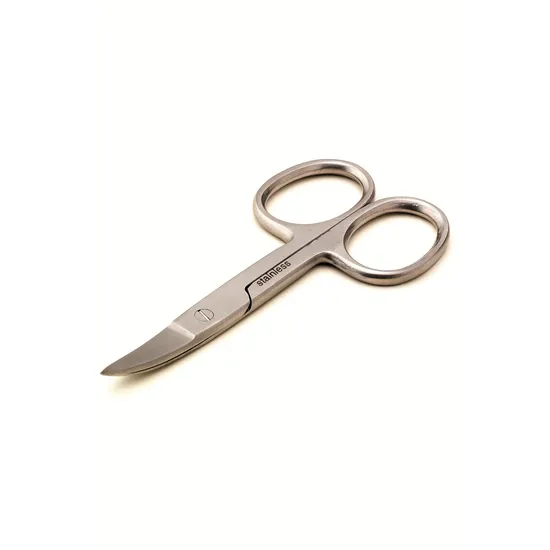
We recommend the Strictly Professional scissors as the sturdy stainless steel blades are a heavy duty option - perfect for ensuring a precise and efficient trim.
This may feel a little uncomfortable (especially if you’re not keen on scraping sounds) but using a file is an essential step to thinning down your acrylics. Gently buff the nail file over the top of your nails, primarily focusing on the acrylic nails. The aim here is to file away as much of the acrylic nail as possible, making it a lot thinner to ensure an overall easier process when it comes to introducing the acetone.
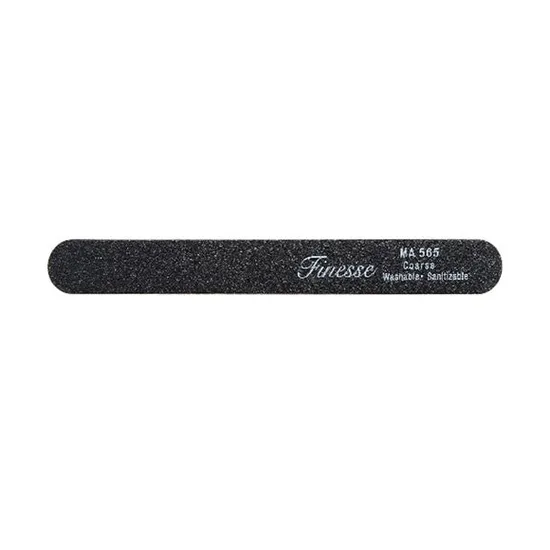
Neaten up your nails in a flash with this nail file from Finesse Professional. Shape, shorten and perfect for the perfect mani.
Before we start introducing the harsher chemicals, it’s important to look into protecting your skin – especially if you suffer from eczema. To prevent the acetone from damaging or irritating your skin, apply a generous amount of cuticle oil around the nail beds. This will help to stop the skin from drying out too much, leaving you with touchably soft fingertips.

Ideal for your at-home acrylic nail removal, this cuticle oil coats the skin in a protective layer that locks down moisture whilst shielding the skin against harsh chemicals.
Okay, so there’s two ways you can go about removing your acrylics but both unfortunately contain acetone – not always ideal if you suffer from sensitive skin. However, if used carefully, skin can be left irritant-free. The first option is to use acetone similarly to the way nail salons do it: by soaking your nails in a bowl of acetone for around 30 minutes.
However, if you’re looking to be a little more careful with your nail removal, try soaking cotton wool pads in acetone before carefully placing them over the nail. Secure them in place by wrapping each nail in foil to lock it down. Again, leave on for around 30 to 40 minutes before removing the foil to see if the acrylics have loosened up a little. If not, sit back and chillax for a little longer until you are able to comfortably remove them.
Do not force them off if they’re not ready, just try and remain patient and put on another episode of Friends. Once you’ve got the majority of the false nail off, gently buff your natural nails to remove any remnants.

This powerful solution removes false nails and nail varnish while ensuring that minimal damage is caused to the natural nails underneath. It's the best way to keep nails healthy and strong when undergoing a removal process!
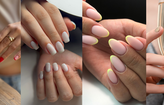
You may think about overlooking this stage, but we promise you it is worthwhile. Your hands have been through a lot, so show them you love ‘em by treating your mitts to a surge of nourishment and hydration. We’d also advise stepping away from the nail varnishes and fake nails for a while, so your nails get a little bit of time to fully recover.
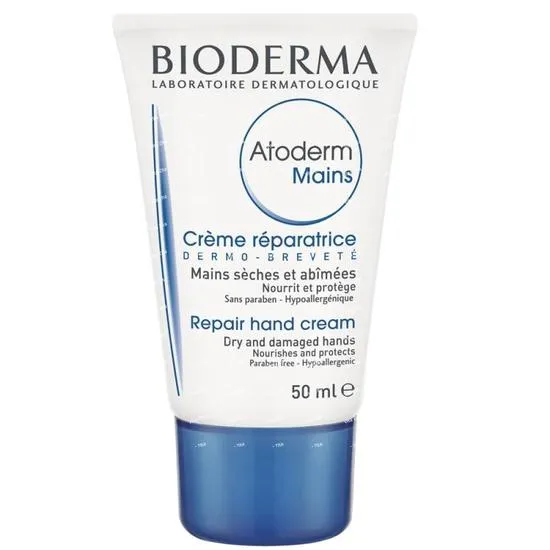
Looking for something a little more elite than your standard Vaseline hand cream? Treat yourself to this Bioderma Atoderm Ultra Repair Hand & Nail Cream. Lightweight, non-greasy and quick-absorbing, it locks down moisture and soothes any unwanted irritation.
If the thought of drenching your nails and skin in acetone sends shivers down your back, your best bet would be to try out acetone-free nail polish remover. While the process may take significantly longer, the damage inflicted will be far less than if you were to use pure acetone. Other options include using a nail file to file down the acrylic nail, although this may also weaken the nail and will require a serious amount of patience.
Due to the harsh chemicals used in nail glues, it is very difficult to remove gel nails, acrylics and false nails without inflicting some sort of damage to your natural nails. In all honesty, being patient and not rushing or forcing the removal process will ultimately work best for your natural nails and inflict the least amount of damage.
In short, no. If your nails were applied by a professional nail tech, pulling them off is seriously not recommended. This is because the chemicals used within a salon environment can often be somewhat stronger than over-the-counter glue-on nails. While false nails that you applied yourself may be easier to pull off, it is still not recommended if you want to preserve the health of your natural nail.
If, however, you're finding that the nail is quite wobbly (think of it like a loose tooth), then you may be able to easily peel the false nail off.
Again, this one will require a lot of patience. We recommend doing this on a lazy Sunday, where you're chilling out in front of the TV with a few hours to spare. Basically, all you need to do is soak the tips of your fingers in hot water and wait for the acrylic to start swelling. This could quite literally take a few hours, so be prepared to top up your bowl with hot (but not scolding) water.
Once the nails feel softer, try gently using a toothpick to gently remove the false nail. Please remember to only do what feels comfortable for you! No nail removal process should cause serious injury or discomfort, so try and be patient where possible.
Once you’ve left your nails to recover, why not experiment with our guide to Easy Nail Art You Can Master in Five Minutes?
And if you learnt a lot from this blog, be sure to check out our ultimate guide to false nails.

Written by Ellie Child
With five years’ experience under her belt, Ellie has worked alongside a range of highly regarded makeup artists, giving her a real insight into what consumers should be spending their money on.